

If you are seeing ragged edges on the top of your plywood or finding that your vacuum seal is breaking while cutting parts, the problem usually isn't your machine, it’s the direction of the cut. While straight-flute bits were the traditional shop standard for years, the shift toward solid carbide spiral geometry has fundamentally changed the expectations for modern CNC production. It isn't just about the durability of the carbide; it’s about the physics of the cut. To get the best results, you need to understand how the spiral affects your material.
At CleBitCo, we believe your router bit is more than just a cutter; it is a tool that manages heat and holds your material in place. While the principles of up-cut and down-cut geometry are most visible in woodworking, these tools are essential for a vast range of materials, from Melamine and layered plywood to modern composites and thin plastics. Whether you are machining natural fibers or synthetic resins, the goal remains the same: directing cutting forces to protect the integrity of your material.
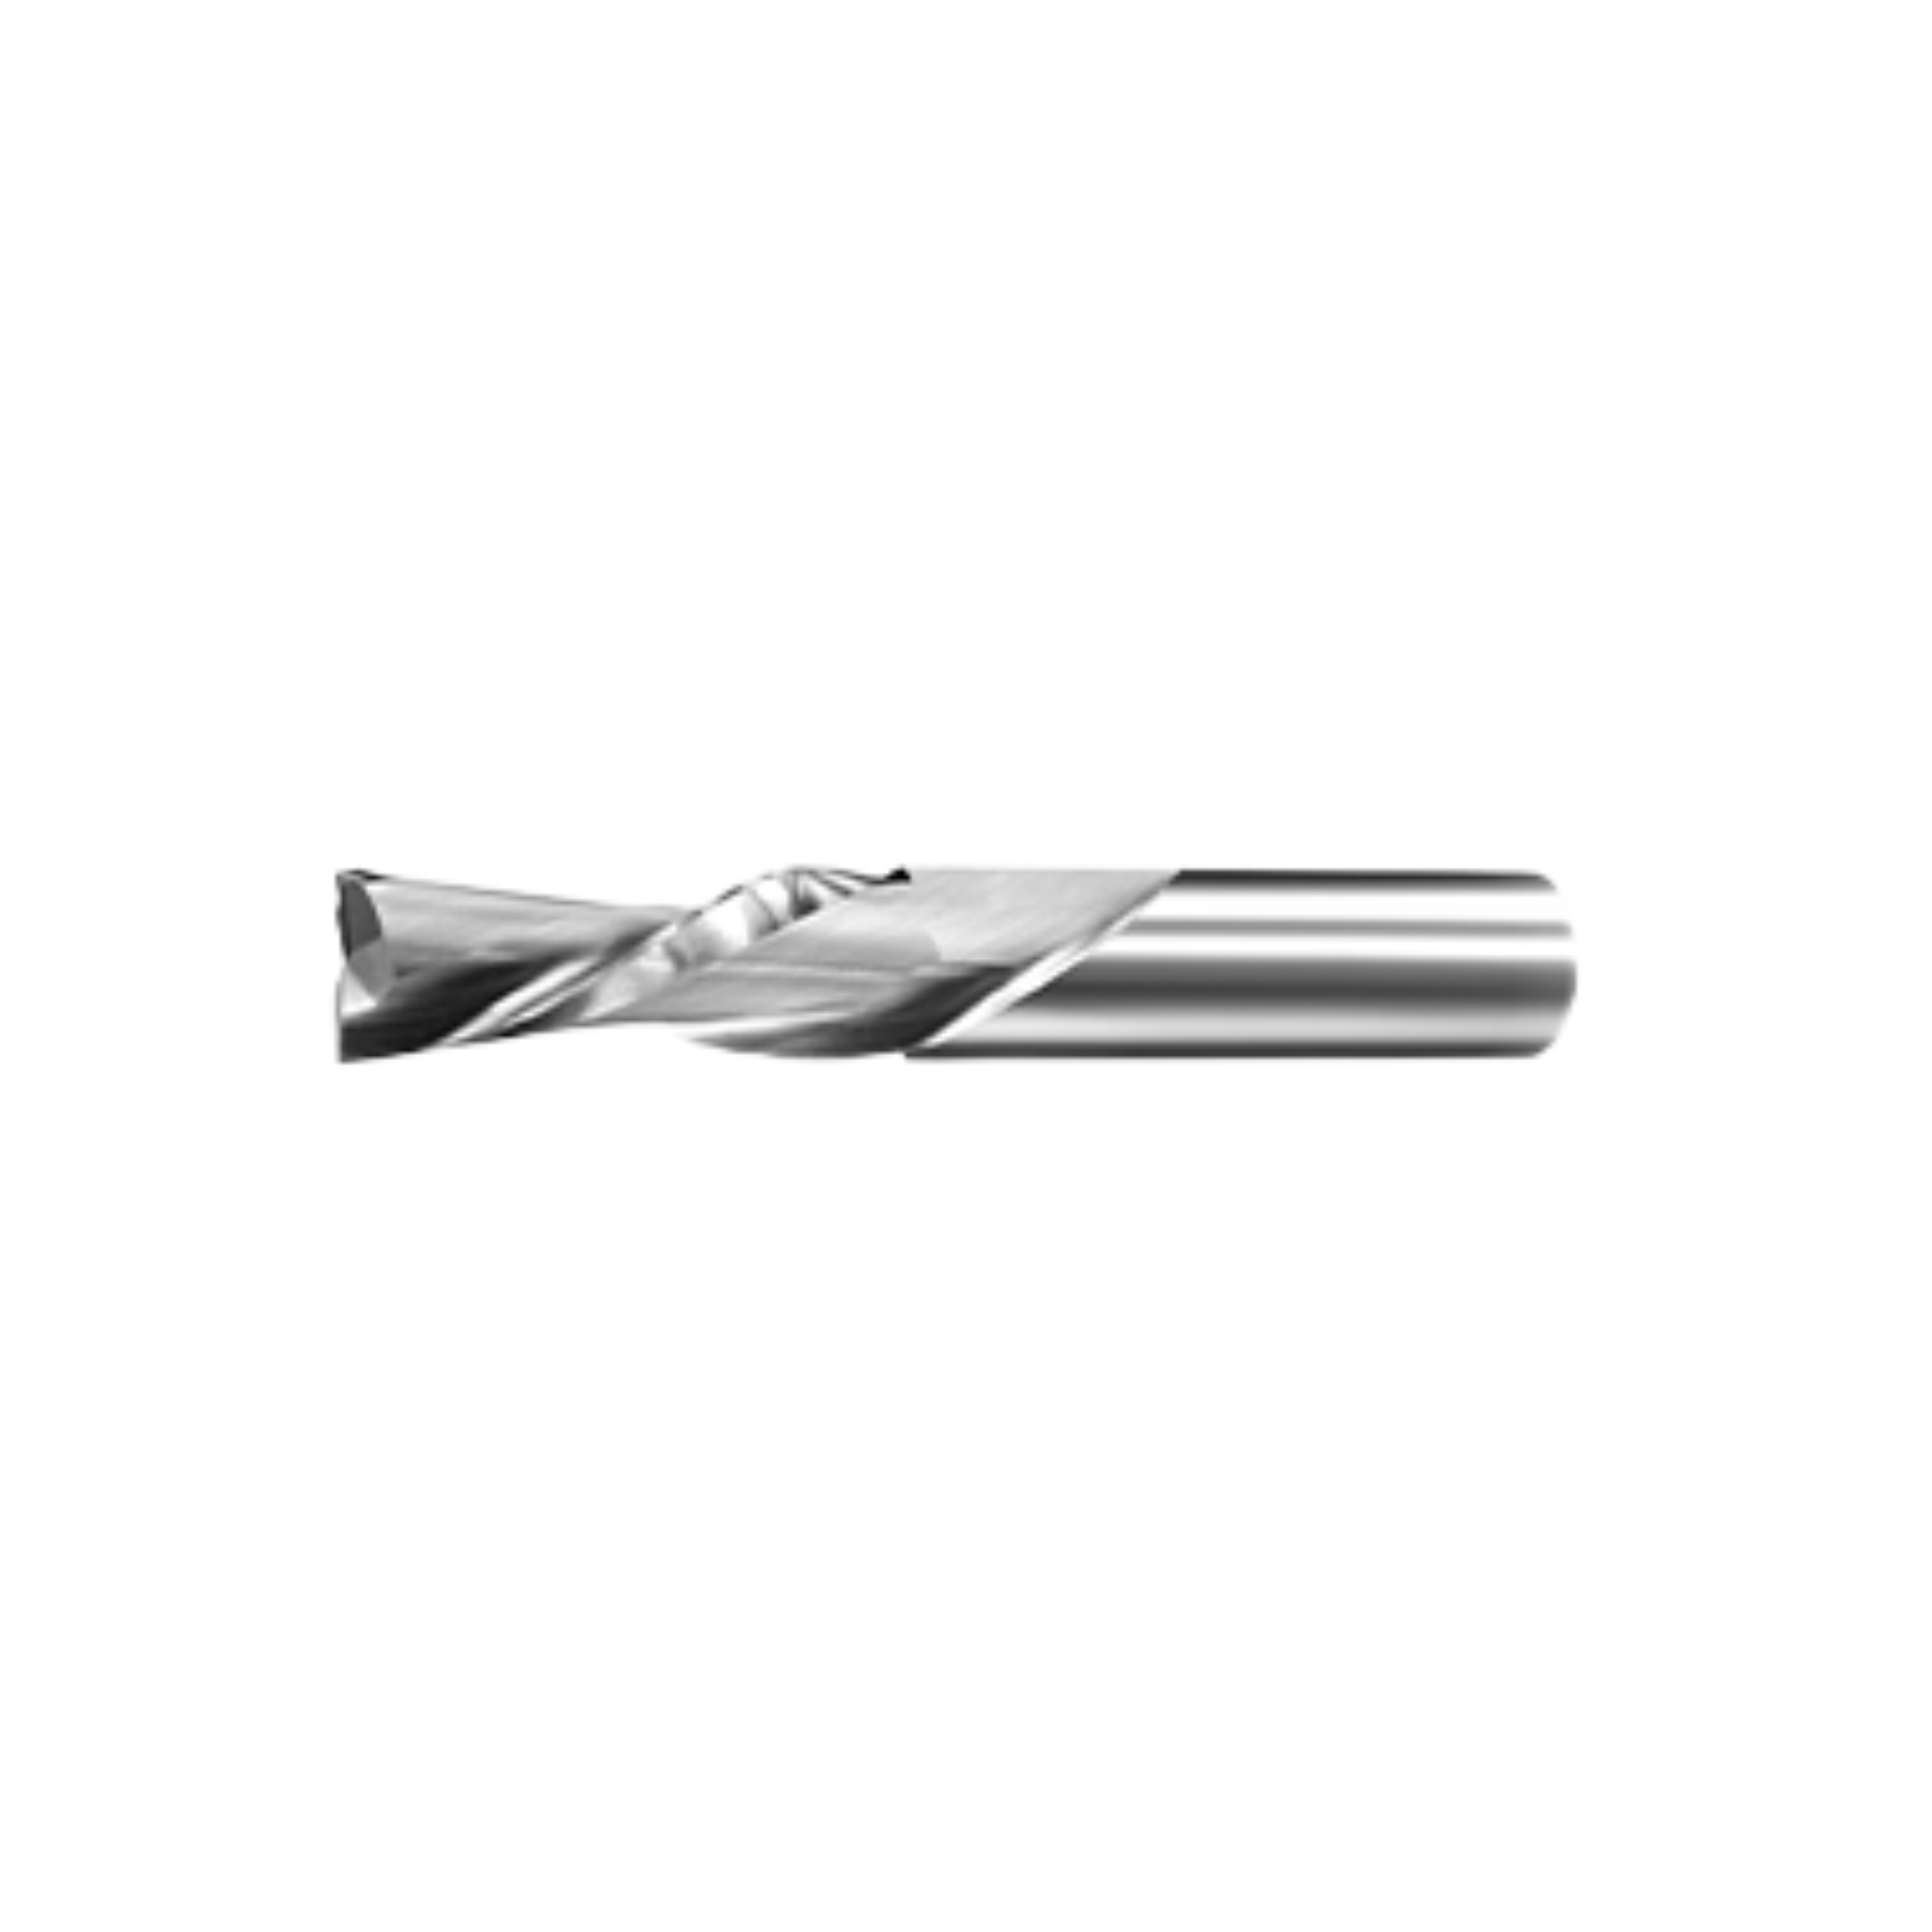
The Up-Cut Spiral: Built for Speed and Deep Grooves
 An up-cut spiral bit features channels, or flutes, that wrap upward from the tip toward the machine spindle. As the bit rotates, this helical shape acts as an Archimedes' screw, physically pulling debris up and out of the slot being cut, also known as the kerf. This upward force is what makes the up-cut bit so effective for "blind” cuts, like mortises or deep holes, where there is no other way for waste to escape. By constantly clearing the path, the bit reduces the physical resistance it faces, allowing for smoother travel through dense materials.
Managing Heat
Heat is the biggest reason bits get dull. Interestingly, wood chips actually carry away about 80% of the heat created during a cut. Because up-cut bits throw these chips out so quickly, they keep the tool cool and allow you to move the machine faster.
- Best for Deep Channels: These bits are the top choice for deep grooves or mortises where sawdust usually gets trapped.
- High-Speed Cutting: Because they stay cool, you can use them for roughing passes where you need to remove a lot of material quickly.
- Drilling: The shape naturally clears the hole as you plunge down, making it safer for drilling.
The Down-Cut Spiral: Protecting Your Show Face
 A down-cut spiral bit is engineered with an inverted helix, meaning the flutes wrap downward toward the tip. As the bit rotates, it creates a downward axial force that acts as a continuous mechanical clamp, pressing the material firmly against the machine bed. This downward pressure is a significant advantage when machining thin or flexible substrates, such as ⅛” plastics or thin veneers, that would otherwise vibrate or lift under the tension of an up-cut bit.
What is Fiber Pre-Compression?
Before the bit actually cuts the wood, the downward force presses the surface fibers against the solid core of the board. This is called fiber pre-compression. It prevents the fibers from lifting and splintering, leaving you with a crisp, perfect top edge; essential for the show face of cabinets or furniture.
- Better Grip: By pushing the wood down, these bits help the vacuum pump hold the material firmly against the table. This is great for thin sheets or small parts that might otherwise slide around.
- Perfect for Laminates: These are mandatory for materials like Melamine or plastic-coated boards to prevent chipping.
The Hybrid Choice: Compression Bits
For shops cutting a lot of double-sided sheets (like Melamine), the compression bit is the ultimate tool. It has an up-cut spiral at the tip and a down-cut spiral further up the bit. This pulls both the top and bottom edges toward the center of the board at the same time.
The Neutral Point Strategy: There is a spot on the bit where the two spirals meet: the neutral point. For this to work, you must cut deep enough on your first pass so that the up-cut part is completely hidden inside the wood. If you cut too shallow, the up-cut tip will hit the top surface and cause the exact tear-out you were trying to avoid.
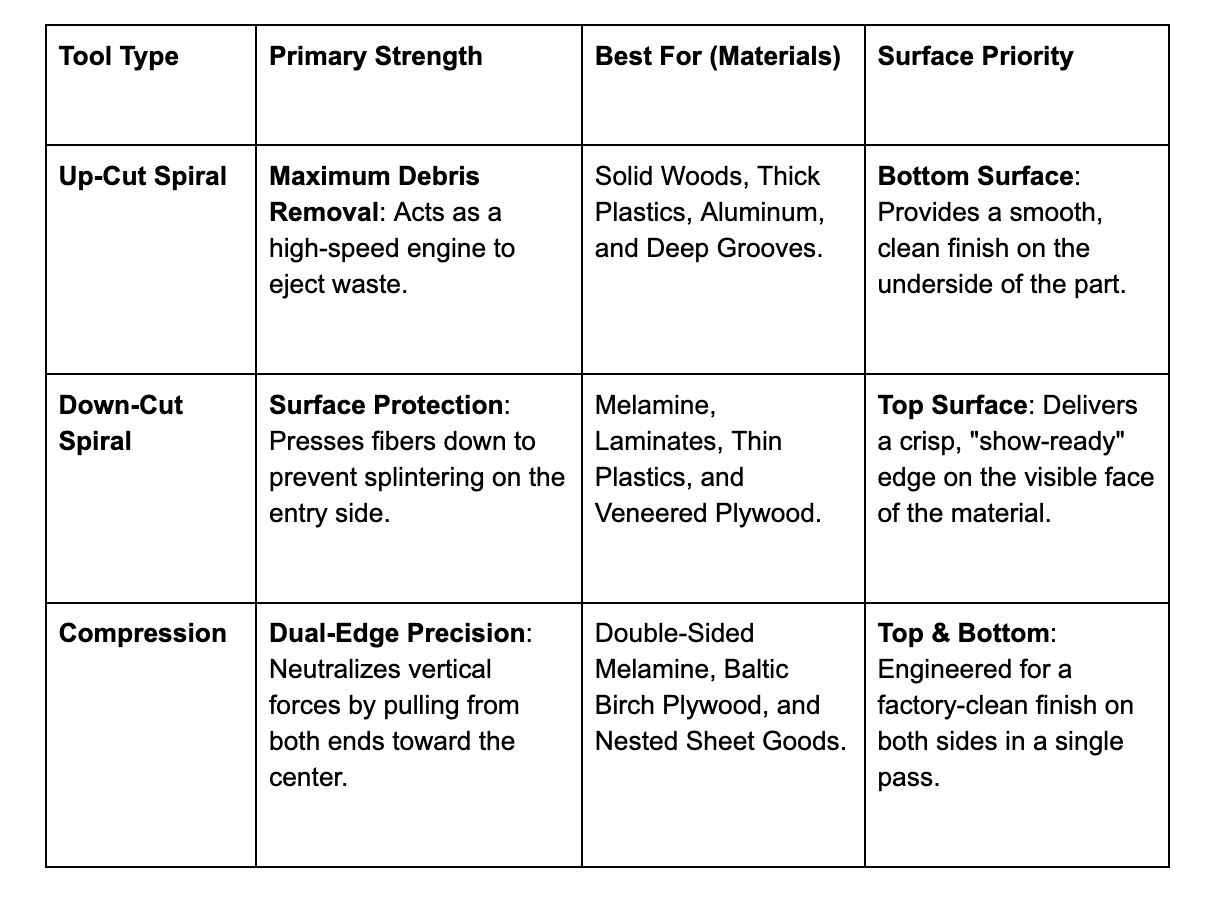
Comparison: Chip Extraction vs. Surface Finish
To help you pick the right tool for your next job, the following chart breaks down how each bit handles waste and which materials they work with best:
Maximizing Throughput through Geometric Intelligence
In a high-production environment, the real expense is the time your team spends sanding away fuzzy edges or fixing tear-out caused by using the wrong tool. If an up-cut bit ruins a batch of veneered panels, the cost of that extra hand-sanding quickly absorbs any savings you found by buying cheaper tooling.
By matching the directional shear of your bit to your material, you transform your CNC from a simple cutter into a precision finishing system. Understanding these geometric trade-offs is the difference between a profitable, automated workflow and a bottleneck of manual labor. At CleBitCo, we help you select the tools that keep your parts ready straight off the machine, maximizing the life of your carbide assets and the efficiency of your shop floor.